Applies to: EverWebinar
You can upload a CSV file to quickly add multiple chat messages to an EverWebinar event. Preloaded chat messages appear during the automated webinar and help simulate live audience interaction.
You can also add chat messages manually, but importing a CSV file is the fastest way to upload large numbers of messages.
Upload a CSV chat file
- Edit the webinar.
- Go to the Live step.
- Open the Live chat box module and choose the Enable live chat option.
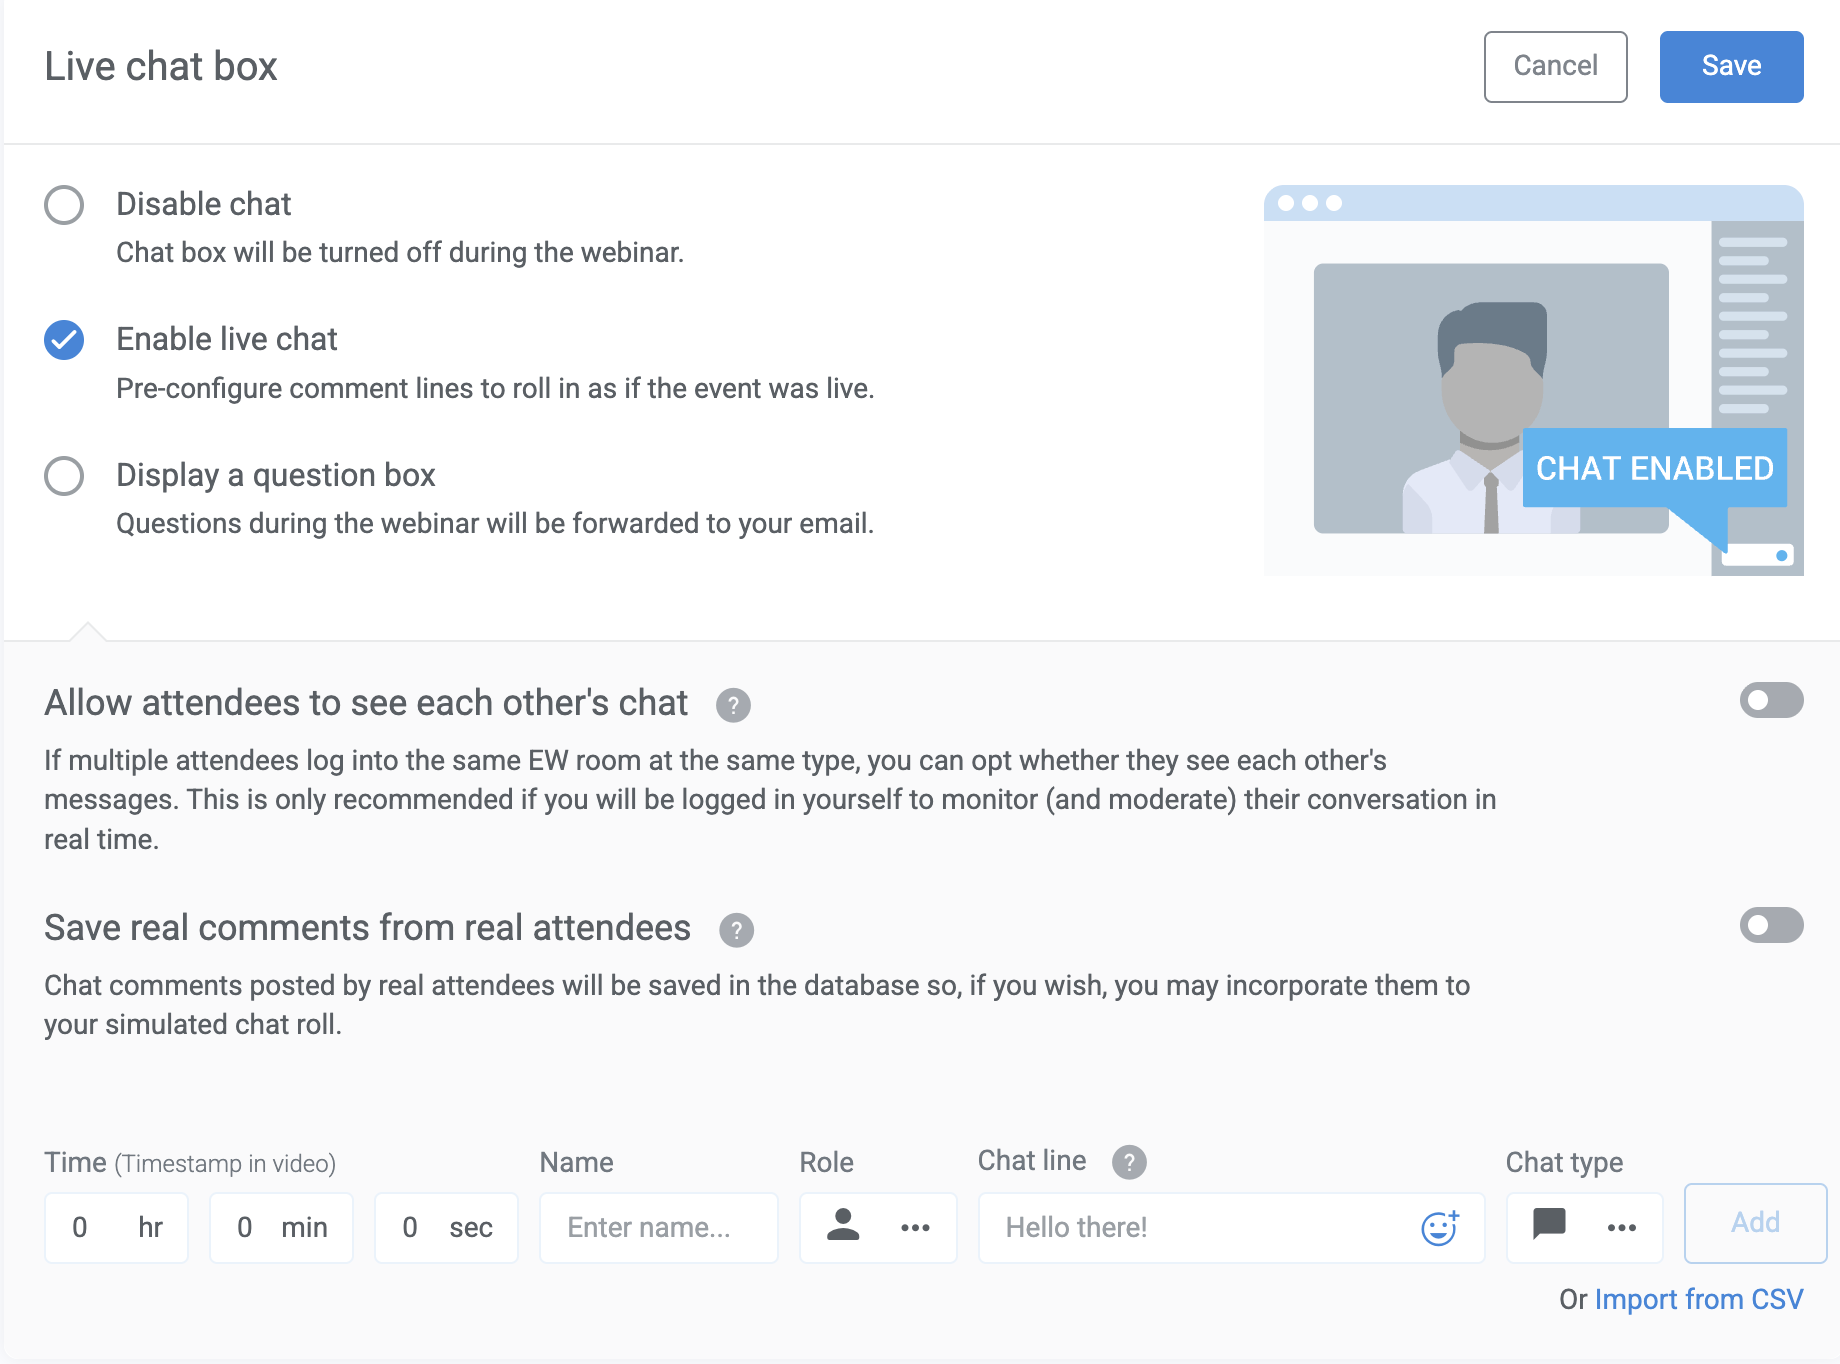
- Click Import from CSV and upload your chat file.
You can upload multiple CSV files if needed.
CSV formatting requirements
Resource: Download a CSV Chat Template
Each row in the CSV file represents a single chat message.
The file must contain exactly seven columns in the following order:
| Column | Description | Value |
| Hour | Hour when the message appears | 00-7 |
| Minute | Minute when the message appears | 00-59 |
| Second | Second when the message appears | 00-59 |
| Name | Name displayed for the. message | Text |
| Role | Role of the sender | Admin or Attendee |
| Message | Chat message text | Text |
| Mode | Message type | For attendee: Chat, Question, Answer For admin: Chat, Question, Answer, Highlighted, Tip |
Example of the correct format:

When the spreadsheet is complete, export or save it as a CSV file with UTF-8 encoding before uploading it to EverWebinar.
File upload limits
Each uploaded chat file must meet these limits:
- Maximum 5,000 chat lines per file
- Maximum 1 MB file size
These limits help maintain good performance during the webinar.
If your file exceeds these limits:
- Split the file into multiple files with 5,000 lines or fewer.
- Ensure each file is under 1 MB.
- Upload the files individually using the Import from CSV option.
File upload errors
If a CSV file fails to upload, EverWebinar will display an error message indicating the row that needs correction.

Common errors include:
| Error message | Cause |
| Row column count is not 7 | The row has more or fewer than seven columns |
| Role is invalid | Role must be Admin or Attendee |
| Type is invalid | Row must have the type as text, question, answer, tip, or highlighted |
| Hour is invalid | Hour must be between 0 and 7 |
| Minute is invalid | Minute must be between 0 and 59 |
| Second is invalid | Second must be between 0 and 59 |
| UTF issue | Row must contain a message with valid UTF-8 encoding |
| Name issue | Row must contain a name that does not exceed 100 characters |
If an error appears
- Open your CSV file.
- Locate the row referenced in the error message.
- Correct the formatting issue.
- Save the file again with UTF-8 encoding.
- Upload the file again.
Upload a TXT file instead of CSV
If your CSV file cannot be uploaded, you can upload a TXT file using the same structure.
Convert a CSV file to TXT
- Open the CSV file in a text editor such as Notepad (Windows) or TextEdit (Mac).
- Save the file with the .TXT extension.
The TXT file must follow the same structure as the CSV file.
Requirements:
- The file must contain seven columnsin this order:
- Hour, Minute, Second, Name, Role, Message, Mode
- Each column must be separated by a comma (,)
- Do not add spaces before or after commas
- If a message contains commas or special characters, wrap the message in double quotes.
- You do not need quotes if the message contains only letters, numbers, and spaces.
Example of correct TXT formatting
Make sure your file looks similar to the one below before uploading:

This format helps the system read your file correctly.